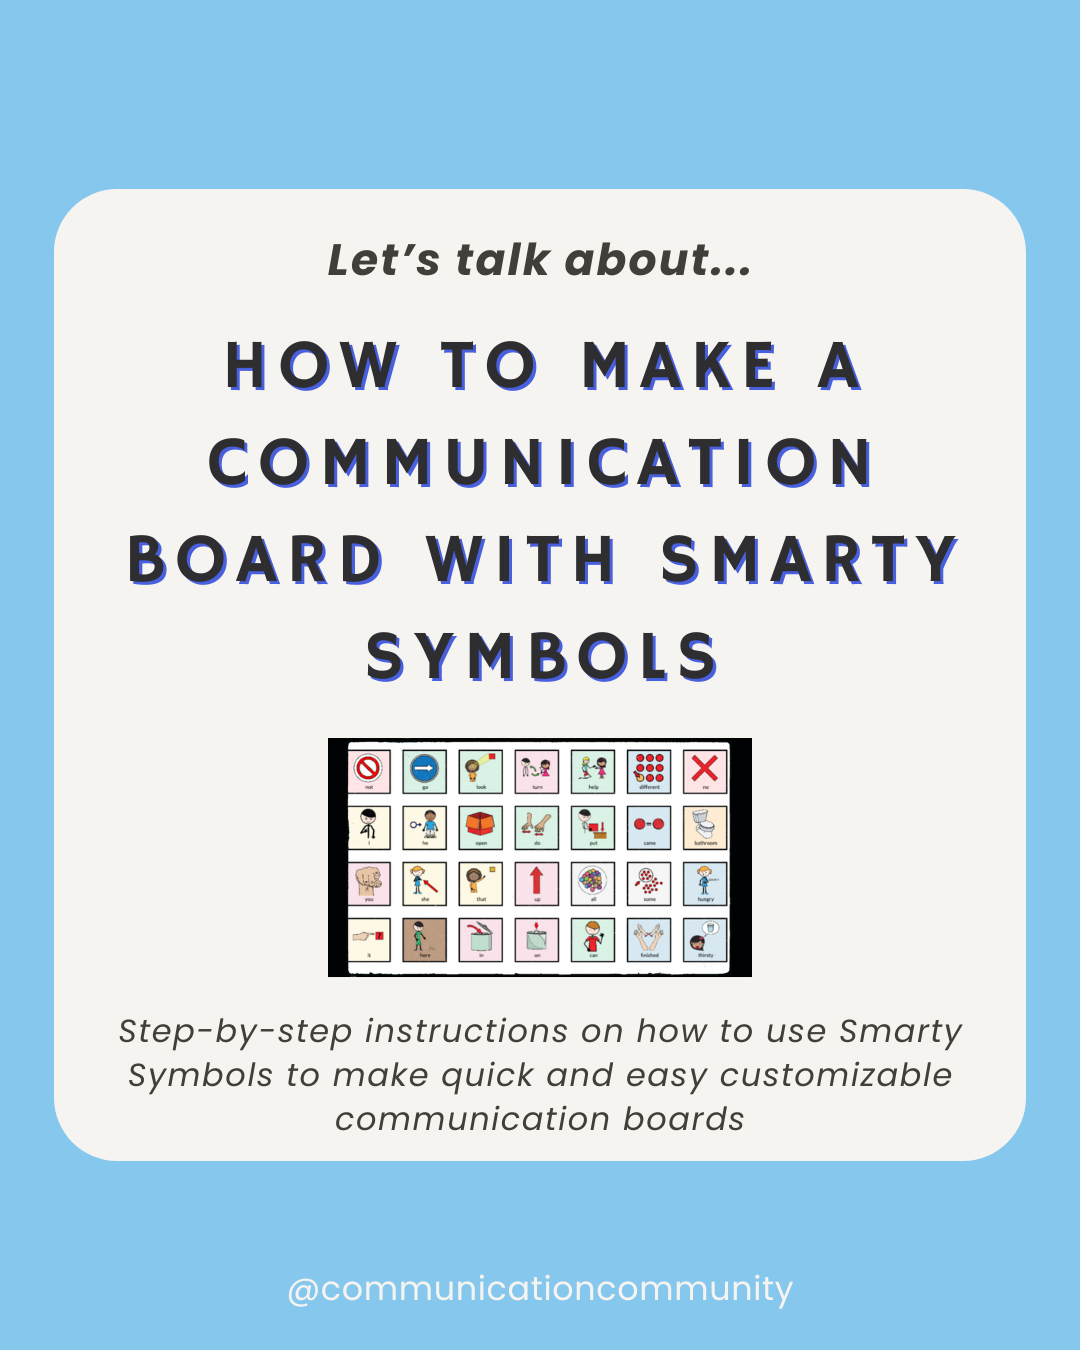
Happy AAC Awareness Month! If you’ve found this, it is probably because you are looking for some communication board or Pragmatic Organization Dynamic Display (PODD) resources. You are in the right place!
In this article, we will cover how to make a communication board with one of our favorite growing symbol creators - Smarty Symbols!
What are Communication Boards?
Let’s go over the basics…
Communication boards are used to enhance and increase access to functional communication, like any Augmentative and Alternative Communication (AAC) system. They are considered a low tech version of AAC. We have a full post on low tech AAC options you can read more about.
Though, it is important to note that if someone is utilizing a communication board, it does not mean that is their ONLY means of expressive communication. Many individuals are multimodal communicators. This approach allows an individual to communicate through a variety of methods; this may include (but is not limited to), using a combination of speaking phrases, using gestures, using a communication board, and using a high tech AAC device.
What Do Communication Boards Look Like?
Communication boards often look different depending on the needs and language skills of the individual using them.
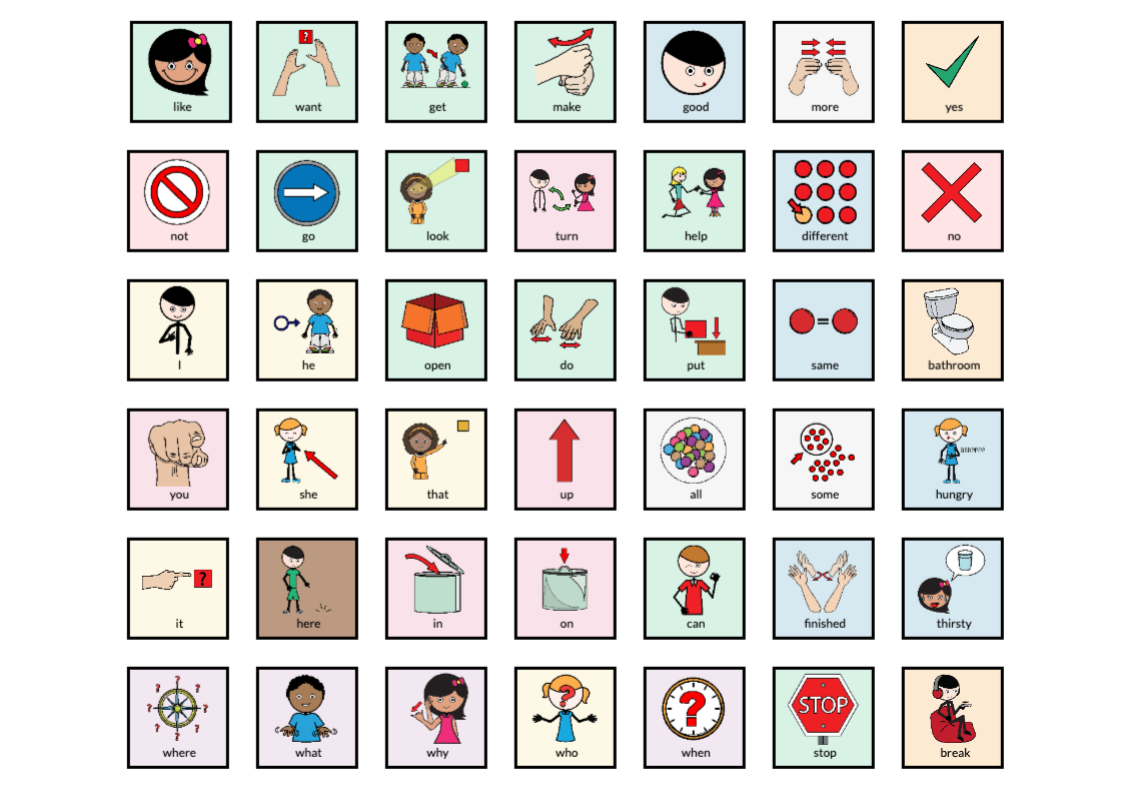
An individual with emerging language skills may use a smaller grid communication board with core words, such as, “help,” “more,” “go,” ...etc.
An individual with a more robust vocabulary may have a communication board with an expanded grid size containing a multitude of buttons.
So… for those creating a communication board or are looking to expand one’s AAC system, we are going to show you how to create using Smarty Symbols! For more information about the efficacy of communication boards, Smarty Symbols shared some great evidence-based information on their ability to increase social-emotional outcomes and safety among users.
Why We Like Making Communication Boards Using Smarty Symbols:
There are a number of reasons why we enjoy using Smarty Symbols. Their platform is user-friendly and efficient, allowing us to create resources in a timely manner. For us, saving time is KEY!
Other great features include:
- Playground Communication Boards. Order one directly from them!
- Regular webinars (catch previous ones on their YouTube channel)
- Diverse symbols and languages
- Ability to download individual images
- Ability to search images by phonetic sounds
- Ability to download resources in jpg or png formats
- Access to materials others have made and chosen to share
- Opportunity to share your materials with others in your organization or to all Smarty Symbols members
- Educationally-relevant categories
- Use of tags to better organize and filter resources
How to Make a Communication Board with Your Smarty Symbols Subscription
We are the first to say: don’t reinvent the wheel! If you are looking for a communication board to help your user communicate in a specific context or setting, check out the Smarty Symbols Activity Library! Their Activity Library is filled with resources from downloadable communication boards to games to visual schedules and more - even video tutorials! As a subscriber, you have unlimited access to this resource. Chances are, you may find an already made communication board to fit the needs of your user!
That being said, we do know that every individual communicates differently, so creating a fresh communication board for your user is also another great option. Let’s talk about how:
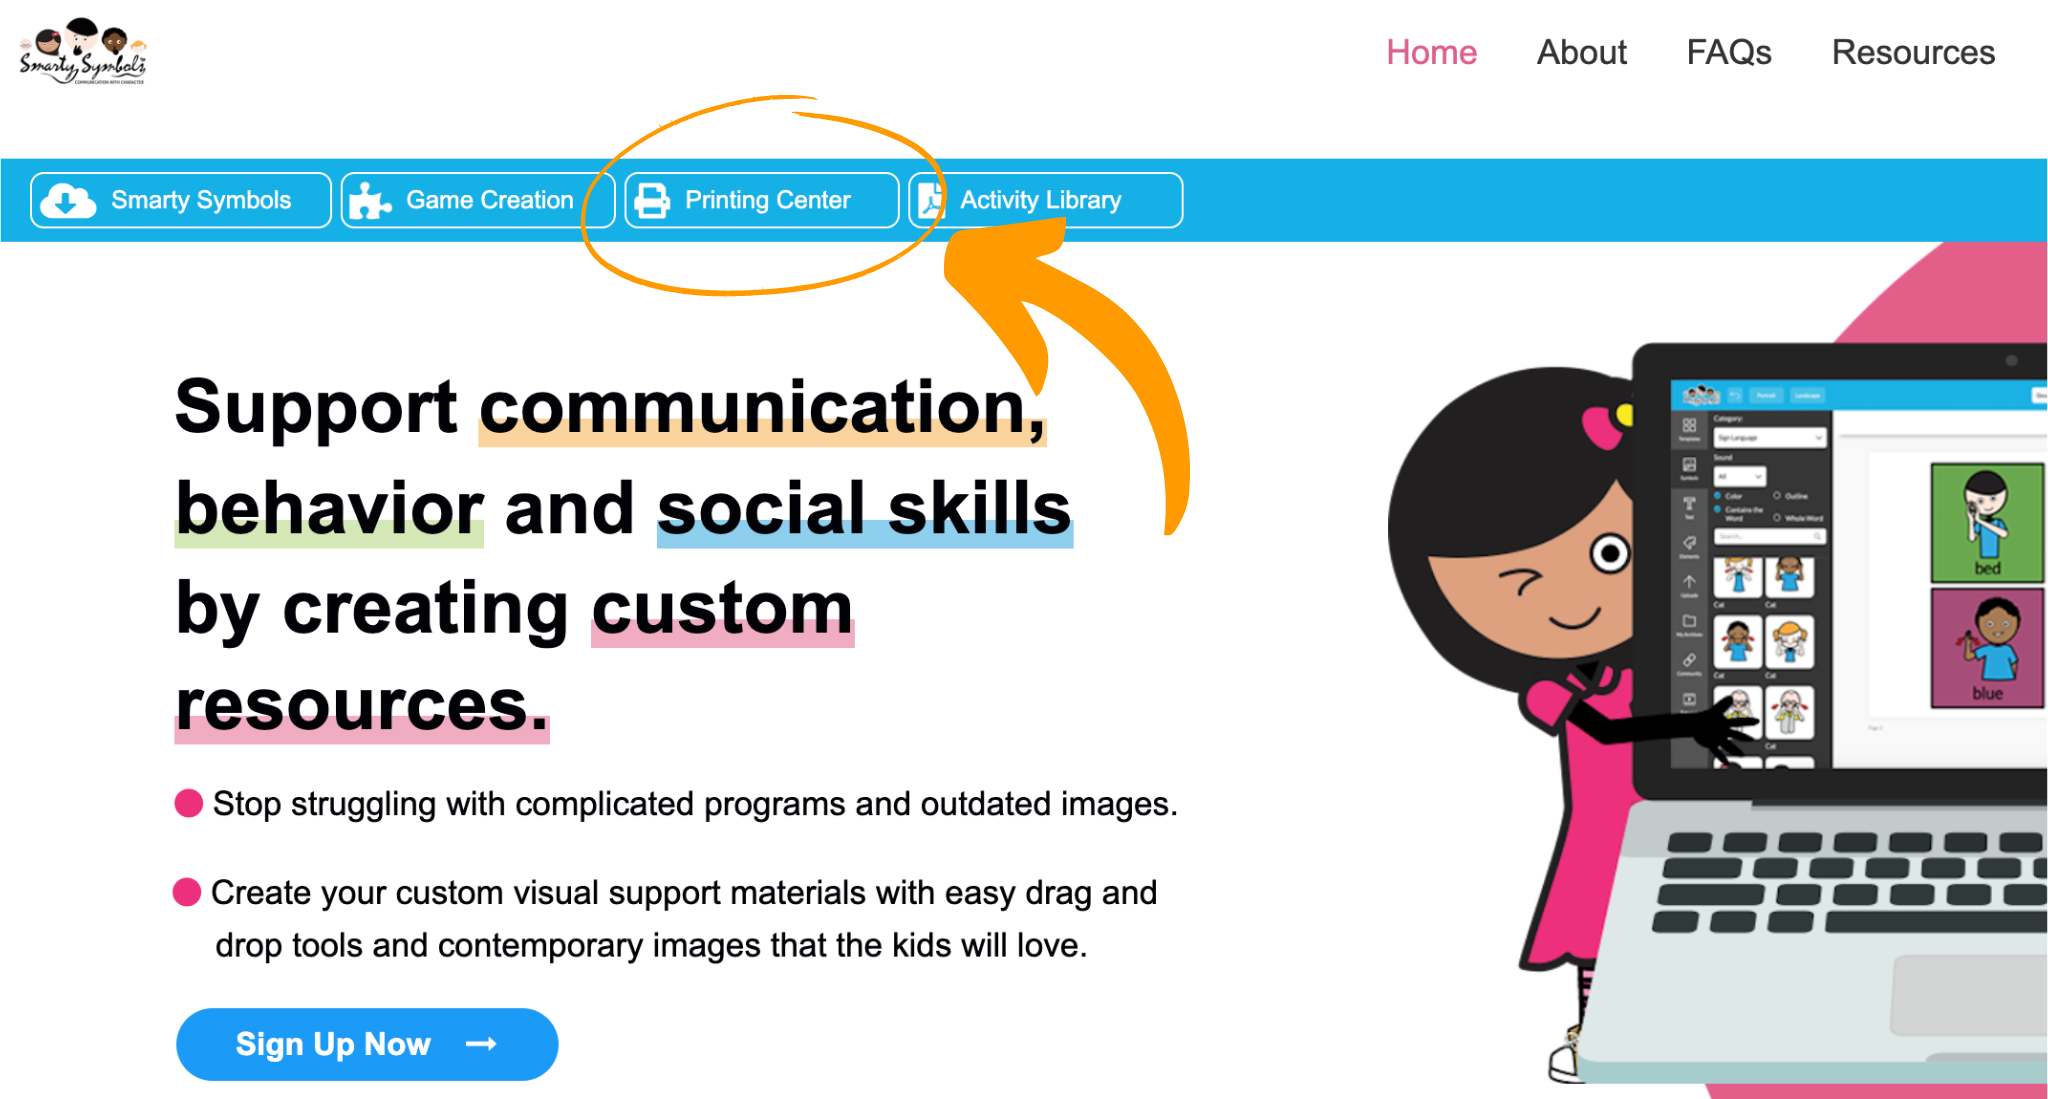
Step 1: Go to the Printing Center
Find it on the toolbar on the homepage.
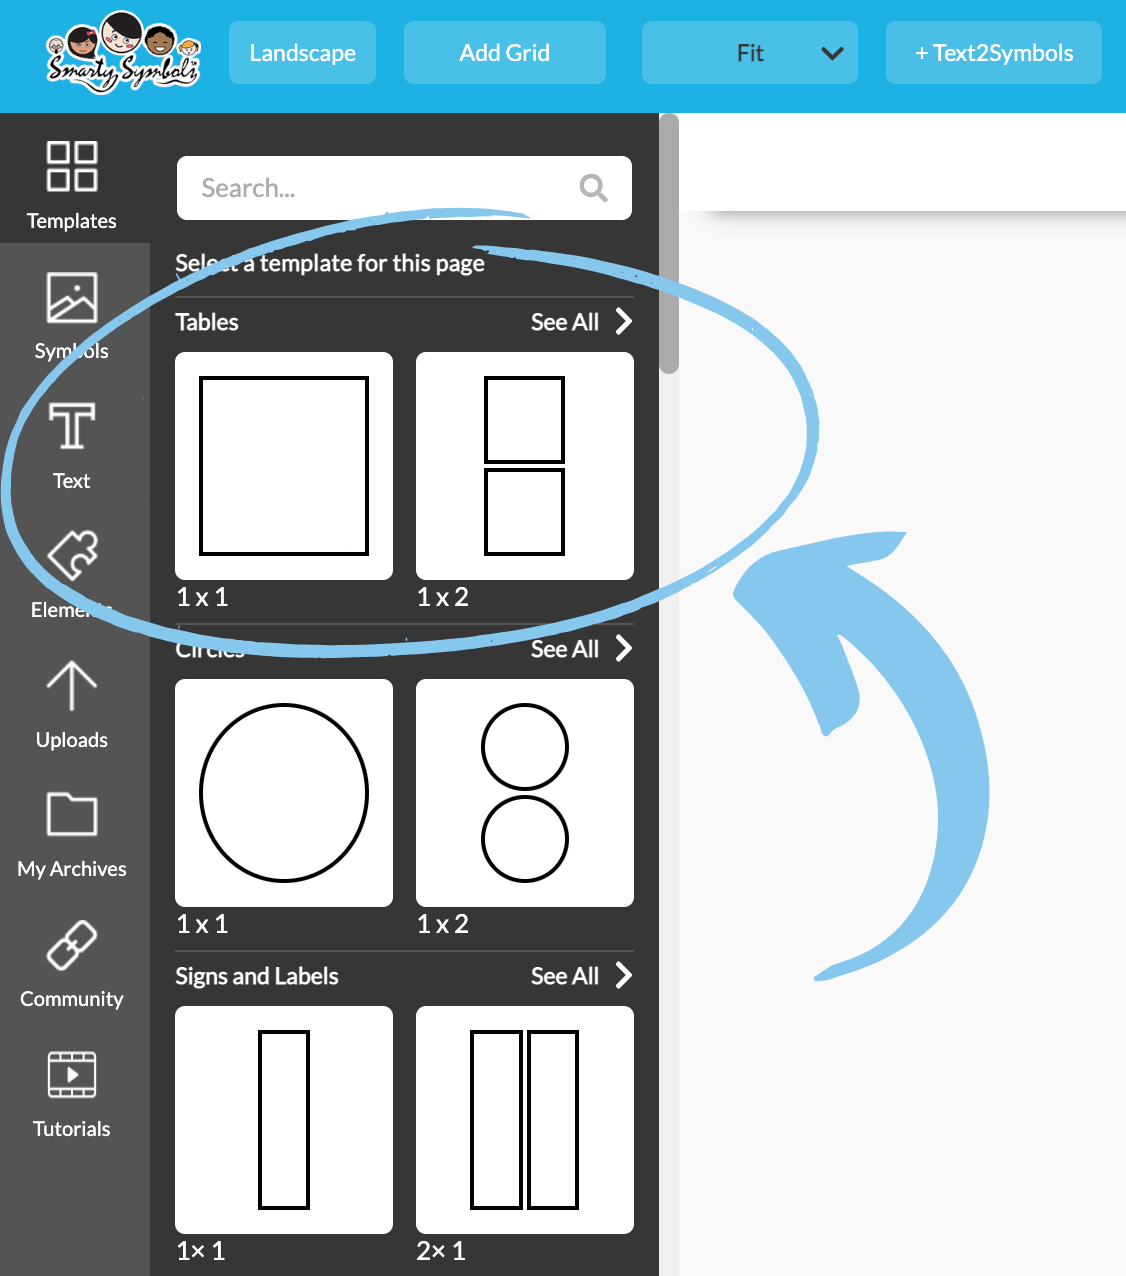
Step 2: Select a template
There are a ton of templates to use; however, if you are focusing on making a communication board, I would stick to the Tables templates (left side toolbar, top selection). Here, tables range from 1x1 grids to 8x8 grids. Choose the size grid that would best suit your user for the symbols they would require. A larger grid size would be more suitable for someone you anticipate using a more robust vocabulary. If you are looking for a horizontal communication board (more common), change your page format from portrait to landscape.
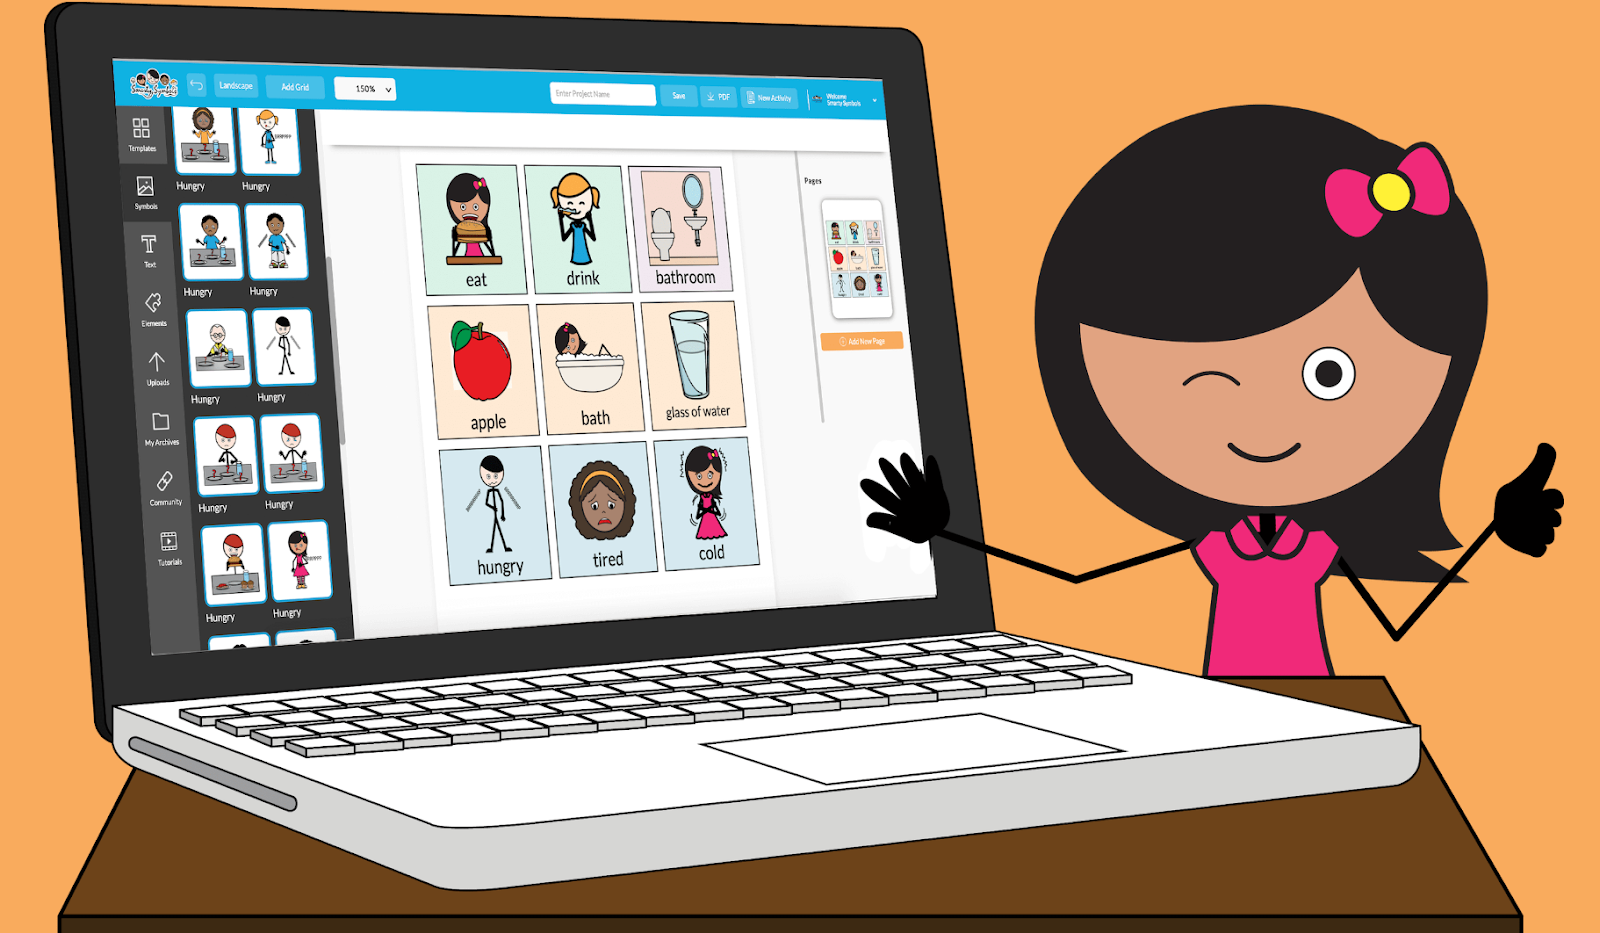
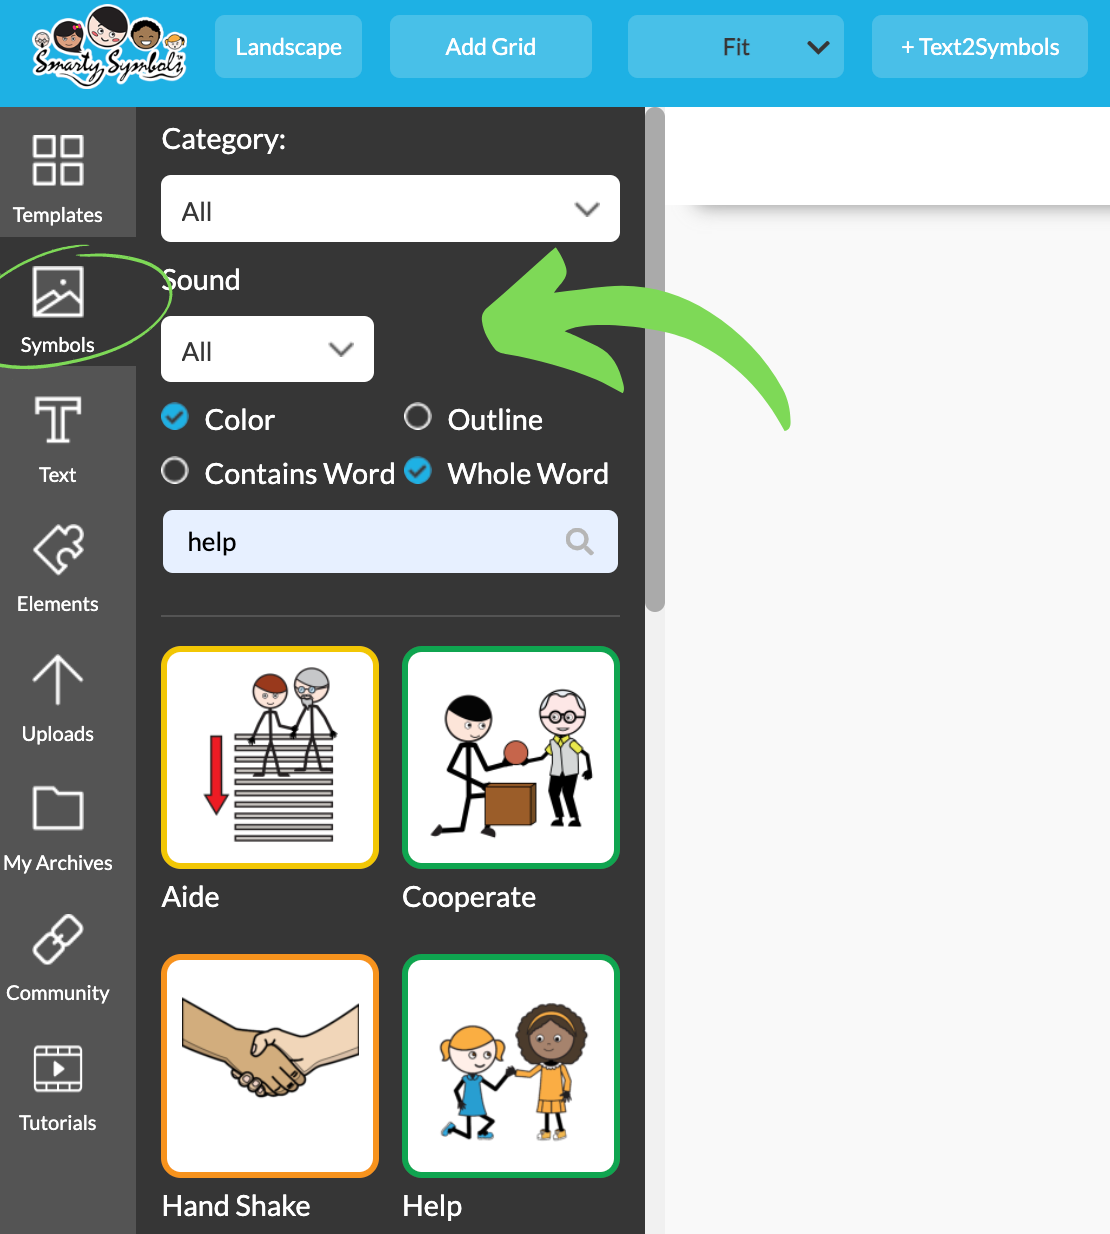
Step 3: Select your Smarty Symbols
Once you have selected a template, you are ready to select your symbols to put in the grid! On the left toolbar, you can find Symbols just below Tables. There is a search bar to search for the symbols you wish to use, in addition to filter features to make your search easier.
Looking to upload real images? You have that option too! Personal images can be incorporated into the user’s board by selecting Uploads from the left toolbar.
Step 4: Make Any Additional Style Adjustments
This step is where you make any additional personalizations to your board. As you can see, there are pre-set colored borders around each symbol to represent different linguistic categories (Automatic Modified Fitzgerald Key) that can be a great visual support to some users. Should you have your own color key in place, you do have the flexibility to modify symbols, colors, and font/text within your communication board grid. You also have the option to use the Text feature (left toolbar) to add any additional personalizations or titles to your page.
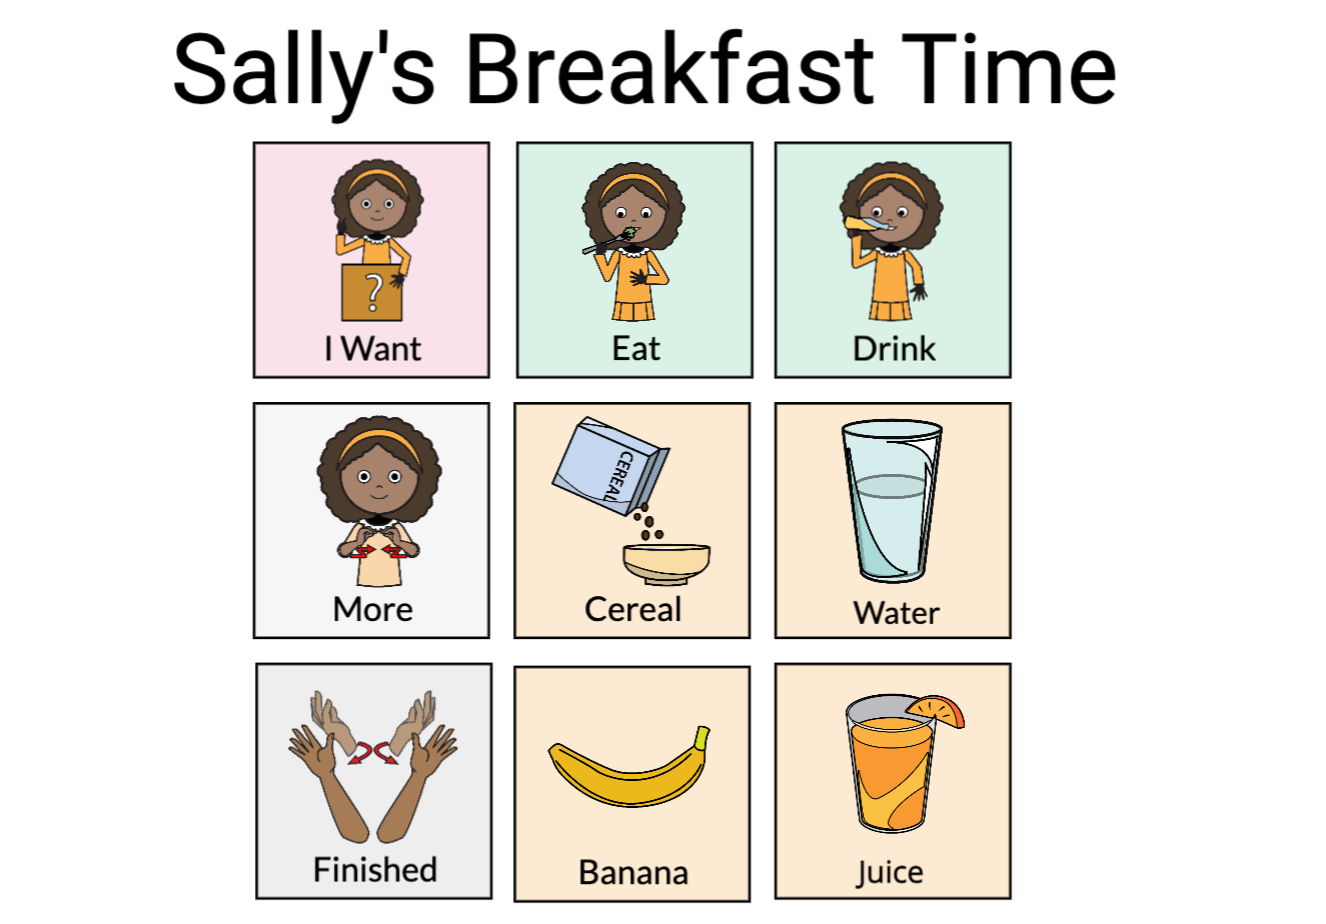
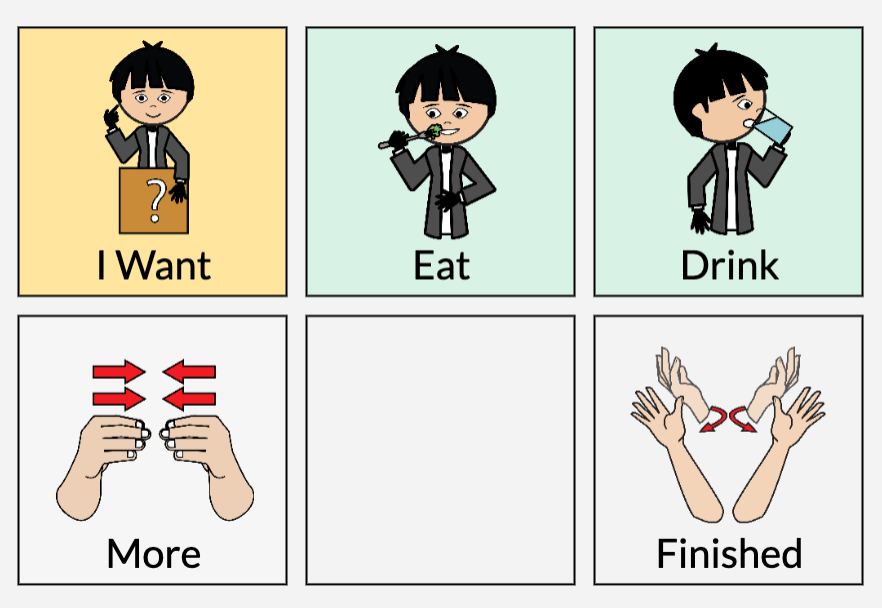
Client: Made in the Smarty Symbols Printing Center using a 3x3 table (landscape).
Step 5: Save, Download, and Print Your Board
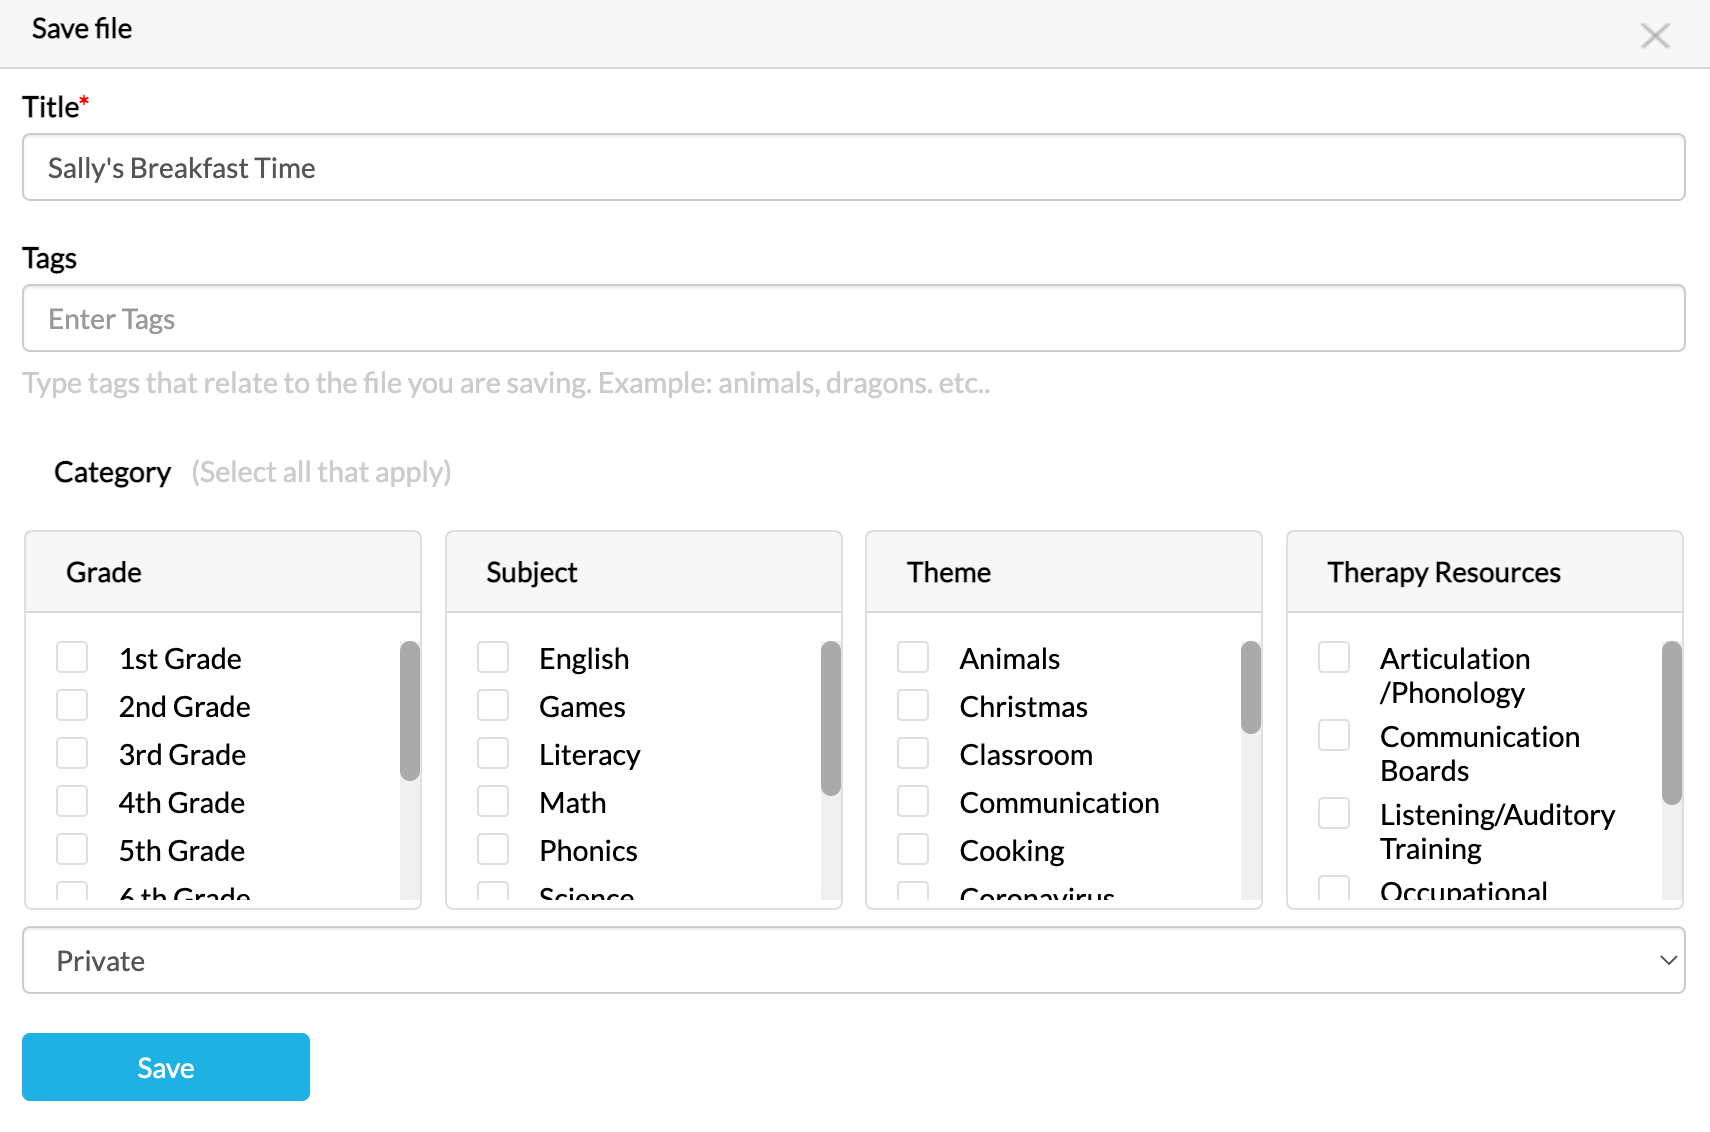
This is our favorite part - seeing the final product! Save your board file by clicking Save (found on the top right toolbar) in your Smarty Symbols Portal. Various tags and categories can help keep your files organized when saving, such as grade, subject, theme, and therapy category.
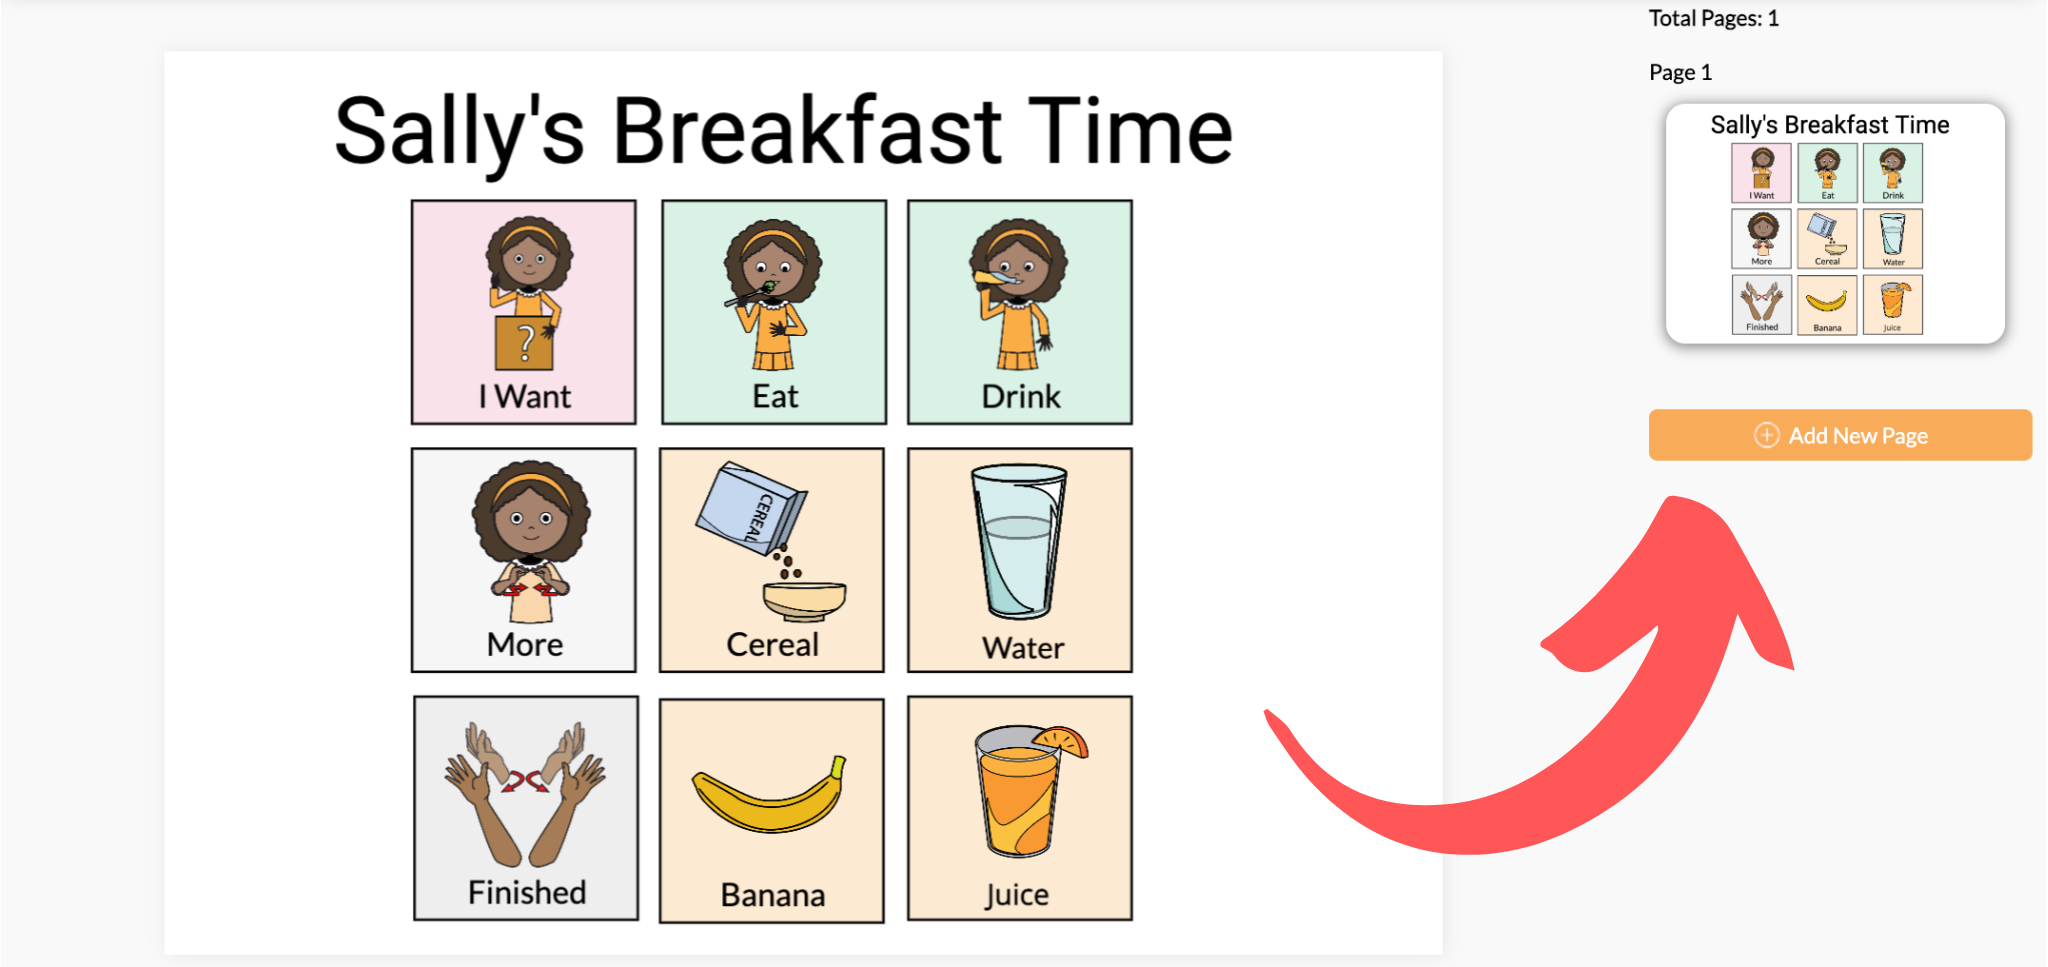
When you are ready to print/download, click on the PDF button (found on the top right toolbar, right of Save). Your finished product will pop up in your Preview/Adobe/etc. window.
Hint: After we do this, we usually laminate the page or put it in a binder sleeve to help keep it protected and in good shape. If (i.e. when) damage occurs, it is easy to log back onto Smarty Symbols and print it out again!
As you can see, using Smarty Symbols gives you easy access to a HUGE variety of diverse and contemporary symbols to make communication boards or whatever other visual support you may need. To see what other products you can create using your Smarty Symbol’s subscription, check out our recent post on Back to School Resources.
Cover image credit: drawntoAAC